In May of 2010 me and my wife went to Paris and fell in love with all the Vespas and scooters we saw there. We fell in love with Paris as well, but that's
a different blog. When we got back to the States I found a Stella on ebay for the "right" price. It is a 2003 model and is showing signs of wear but is generally in great shape and still lots of fun to ride.

Basic Stella Maintenance is a must for me since I live in a po-dunk town with no real Vespa repair shop.

My used Stella didn't come with any tools. I ordered a basic kit from
scooter works and added a pair of needle nose pliers and a right angle screw driver to help me get to those tight spots.
How to remove the cowl:
To get the cowl off to access the engine I have to remove the cowl protector also known as the "chrome". The spark plug wrench in the tool kit fits the bolts.

After the chrome is off, lift the seat and pull the lever that releases the cowl latch.

The Cowl will come loose in the front and you just hinge it back in a sweeping motion; front to back. There's a pin in the back.
To reinstall just start here in the back and put the pin in the hole and swing it back to front and press the cowl against the scooter.
Press down and at the same time press in at the front of the cowl to force the pin in the front to go into the hole. I have to physically bend the cowl to get it to go into the hole.

Turn the lever back to lock the cowl. That's it! Notice the silver helmet hooks I added; a handy upgrade.


 At first I thought it was impossible, but several curse words later and it's on. I pre-stretched the opening of the bellow to loosen it up. I just went all Hulk on it. I think I even let out a growl while I did it. Then I placed the bellow on the metal flange toward the front of the bike first. This is no easy task and it took me awhile to get it on. Start from the back and work the rubber around to the front. The other end fits in the carburetor housing and wasn't too bad. Work it from front to back as well.
 Hurray! The scooter is a lot quieter now. Ride on!
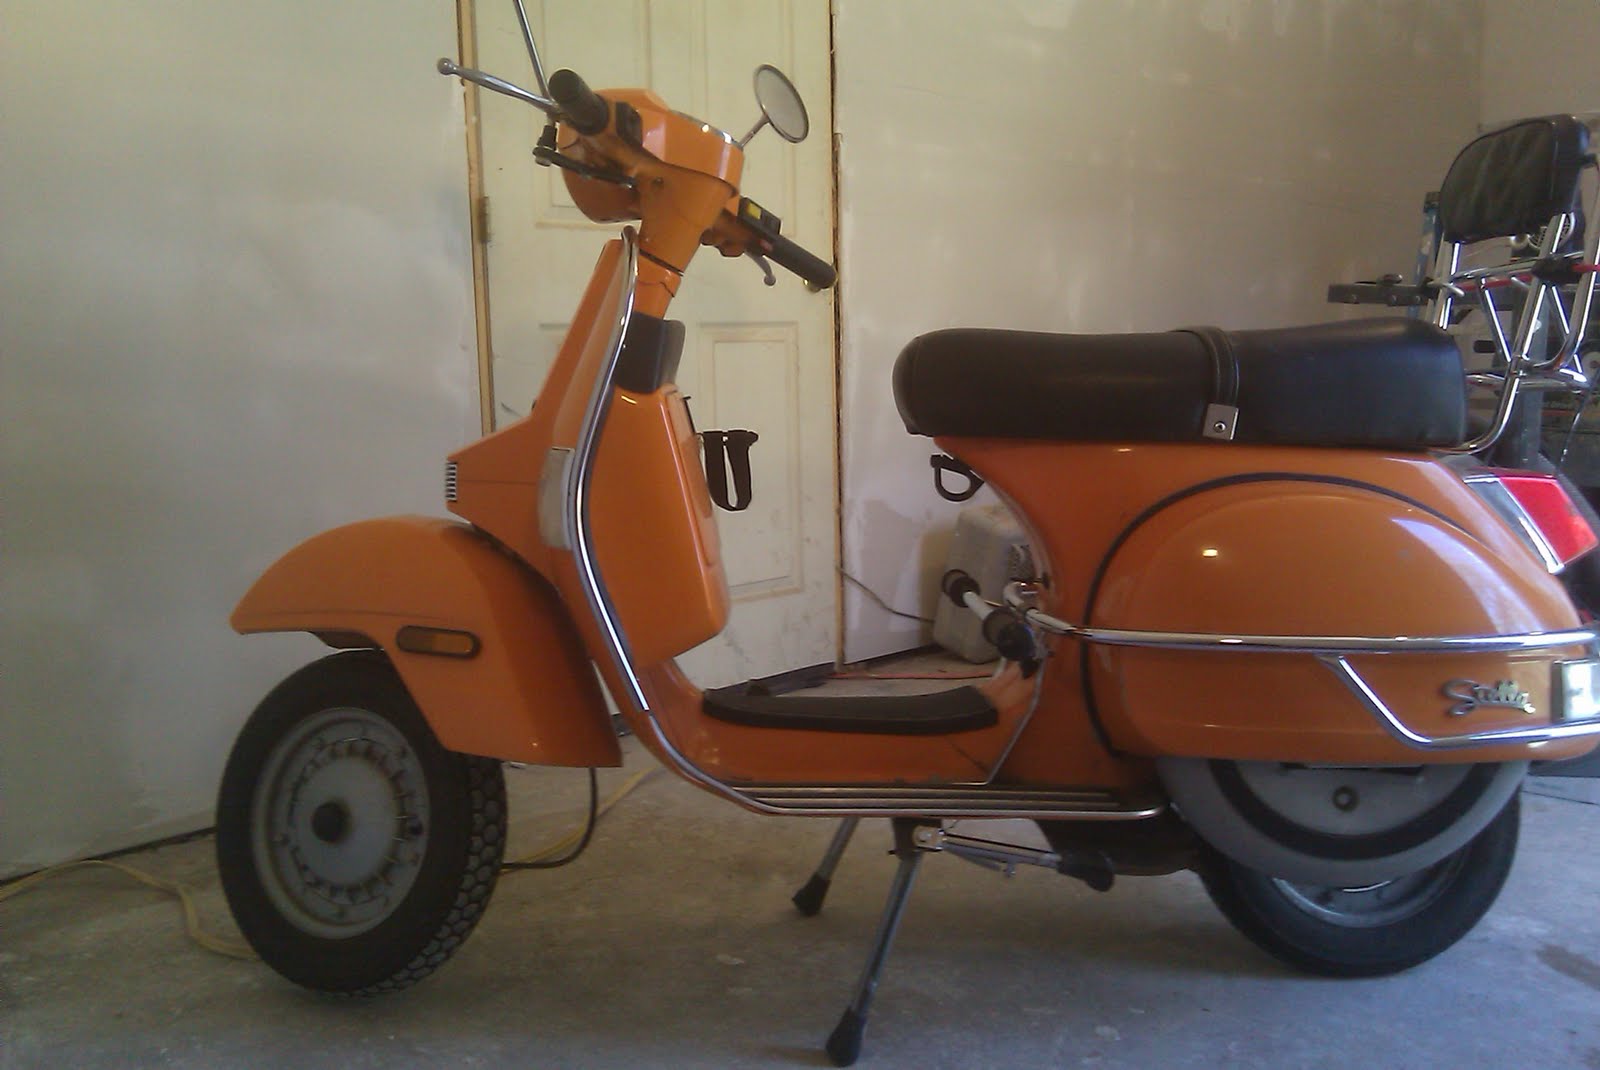


 Horn Box
 Open the glove box and loosen the two screws.
 Gently remove the badge and loosen the screw behind it.
 Now the horn assembly will come loose. Be careful of the wires going to the horn.
 Here's the plastic fuse box with the purple wire. There's a metal holder keeping it in place.
 It was a 10mm bolt. I did not have to remove it entirely, just loosen it enough to get the fuse box out.
  And here is the blown fuse with the spare. After replacing it the tail light worked again! Hope this helped.